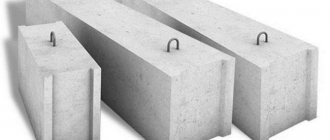
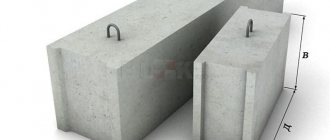
The process of laying blocks on the foundation is accompanied by two of the most complex steps - laying the primary row and creating the ceiling and floor coverings. Sometimes steel frame reinforcement may be required.
Building block elements are a relatively new material that has managed to displace brick and wood.
This building material is characterized by the following advantages: strength, heat resistance, efficiency and ease of installation.
Foundation blocks are suitable for construction in any climate and soil. You can build structures for various purposes.
The range of maximum temperatures is very wide from +50 to -70 °C. With this installation, the result is a durable and unpretentious structure.
Required materials and tools
To construct a structure made of aerated concrete, it is necessary to prepare a number of tools and additional materials:
- adhesive solution;
- sand with cement;
- construction drill, equipped with a mixer attachment;
- grater;
- rubber mallet;
- building level;
- cord or fishing line;
- scraps of reinforcement;
- spatula.
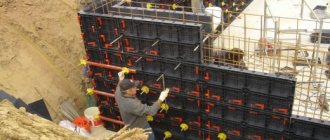
Technology of work execution
How to build a wall from blocks if the foundation is already ready? For installation of enclosing structures, it is recommended to follow the instructions provided:
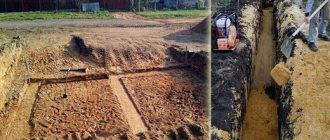
- Drawing right angles. Work begins with drawing right angles on the foundation, for which a building level is used. They also check the diagonals of the building, which must be level. If any defects in the base are identified, they are leveled using gas blocks. Otherwise, after several rows of masonry, all non-joints will be visible to the naked eye.
- Reinforcing rods are installed along the edge of the structure. They are designed to pull a fishing line, which indicates the direction of the masonry.
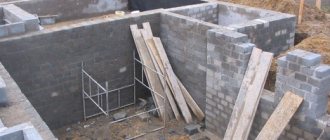
- Installation of building envelope elements on the mortar. How to lay the first row of gas blocks? In this case, it is usually recommended to use a cement-sand mixture (proportion 1:4). First, lay the corner foam blocks, carefully checking them with a building level in all directions. This process should be approached responsibly, excluding even the slightest deviations. To move the gas block in the desired direction, use a rubber mallet.
- The first row of blocks is mounted on a solution that will ensure a reliable connection with the underlying structures. The end sides of the material are connected to each other with special glue. It is also used for the installation of all subsequent rows.
- During the installation process, it is recommended to constantly remove the solution that protrudes out. To do this, use a spatula and a grater.
How to lay the first row of blocks on the foundation
How to lay aerated concrete blocks: step-by-step instructions
To maximize the strength of the masonry, you should carefully work out the preliminary stage:
- Prepare the solution.
- Make sure that the foundation is strictly horizontal in all areas.
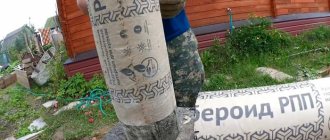
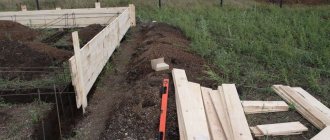
- Protect the foundation from contact with moisture using bitumen mastic
In some cases, it is permissible to use roofing felt for waterproofing, although it is less effective.
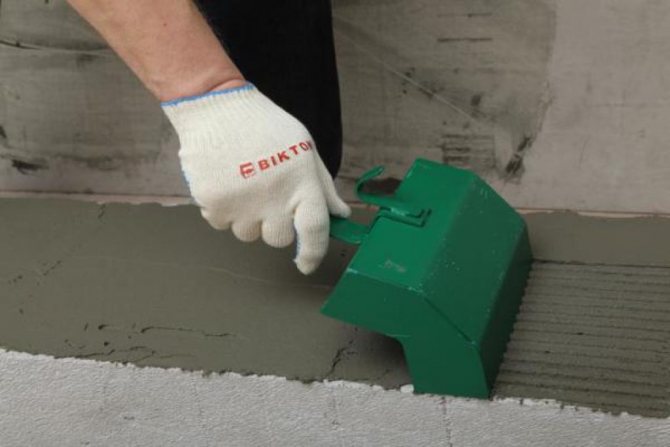
Applying cement mortar to aerated concrete block
Wall laying technology
Knowing how to lay aerated concrete blocks correctly, it is easy to create a strong, even surface. The first element needs to be installed (laid) in the corner, moving sequentially until the next “turn”. Here the work is done on a thickened layer of mortar, compensating for possible foundation defects. The height of the corners must be identical, the maximum permissible deviation is 3 cm.
In order for the orientation cord to create an even line, it must be pulled between the corner blocks with the obligatory intermediate beacons (the building level is an indispensable assistant). We place the second and subsequent rows so that a lateral displacement of 20-40 cm appears. Excess glue formed in the seam area must be removed. If you plan to build a complex configuration, you can fit the blocks using a hacksaw.
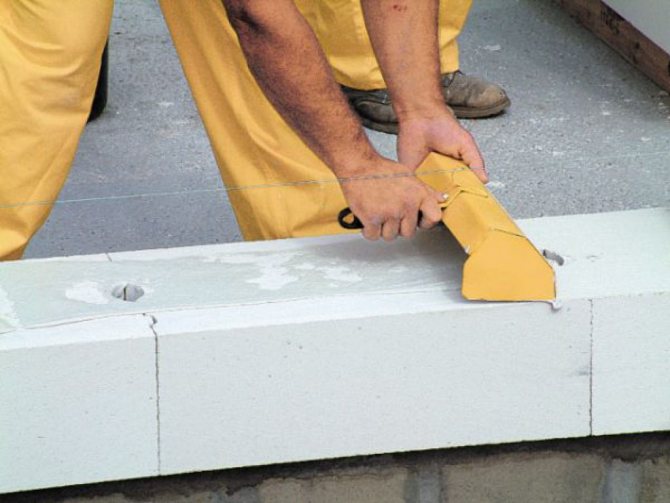
Laying blocks along a cord
Rows whose numbers are multiples of 5 and the space under the windows are necessarily reinforced. Laying aerated blocks with glue is permissible only in a specific temperature range: not lower than -5°C and not higher than +20-25°C. On hot days, the material is slightly moistened during operation; if precipitation is present, protective awnings or film are used.
To create areas where walls join and internal partitions, you will need a stainless steel bond - it forms a seam, fixed with nails. Experts recommend adding such a component to every even row of masonry. After construction is completed, a natural shrinkage process occurs, which takes several months.
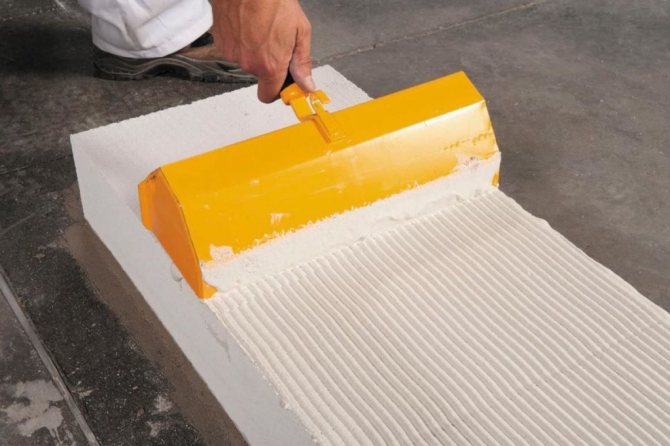
Applying glue to aerated concrete block
Reinforcement
Experts, explaining how to lay aerated concrete correctly, cite 3 reinforcement goals:
- Strengthening areas with weakened masonry - all types of openings.
- Protection of the building along the perimeter - this measure is especially relevant, taking into account the degree of ventilation and inevitable temperature changes and shrinkage.
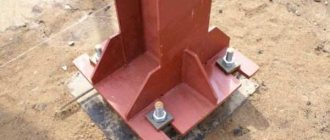
- Vertical reinforcement combines the base and monolithic piping. This step is required during construction in regions where soil displacements occur and hurricanes often occur.
Steel wire is used to make the frame, usually in one layer. The reinforcement, on the contrary, is placed parallel to each other. Using a wall chaser, 2 grooves are created in the material, they are soaked with water and filled ½ with glue, and the reinforcement is placed in them. Its standard size is 8 mm. Next, the holes are filled to the brim with a binder.
Aerated concrete floor
Technology that explains how to lay aerated concrete blocks with glue is often used to install heated floors.
Preliminary manipulations - creating a layer of waterproofing using polyethylene film or more practical and stable polystyrene foam boards. The blocks are assembled on a concrete screed (their height should not exceed 20 cm), followed by the placement of pipes and a new layer of screed, leveling and finishing sanding.
Laying aerated concrete does not require much experience; the main thing is to follow the technology specified by the manufacturer and adhere to the beacons. The result is a surface with decent strength, heat and sound insulation.
Types of adhesive mixtures
If foam concrete blocks are used in construction, special adhesives should be used for their installation.
The most commonly used types are:
- standard adhesive composition. Designed for installation of most materials used in private construction;
- frost-resistant compounds. Able to withstand low temperatures without losing their properties;
- heat-saving compounds. When creating seams, the area of freezing is limited.
The price of adhesive solutions depends on their brand and manufacturer. Domestic options are cheaper than imported analogues. To prepare the glue, just follow the instructions on the package. The dry powder is mixed with water, and a construction mixer is used to combine the ingredients.

Construction mixer
What blocks can be laid with glue?
Special adhesive mixtures are used for laying foam concrete and aerated concrete blocks. Compared to mortar, glue is much cheaper and more convenient to use.
There are several types of adhesive mixtures on the market:
- Standard - used when working with expanded clay concrete, foam concrete, aerated concrete blocks.
- For work at low temperatures. They are used in winter, when the use of a standard mixture is impossible. The composition contains a non-freezing component. This way the mixture will dry and not crack.
- Heat saving. The consistency and good bonding ability make it possible to make the adhesive layer thin, which will limit the freezing area of the seam.
The most popular among manufacturers are: “Seresit”, “Ilmax”, “UDK”, “BudMaster”, etc. The price depends on the manufacturer and the capabilities of the adhesive mixture. The standard one is cheaper than the heat-saving one. Imported, accordingly, is more expensive than “local”.
Let's compare two manufacturers. What are the differences between mixtures for gas silicate and cellular block?
| Ceresit CT21 | BudMister Moore - 160 | |
| Seam width | 1-3 mm | 2-5 mm |
| Water required for 25 kg of mixture | 7-7.5 l | 4.5-5.25 l |
| Adhesion to substrate | 0.5 MPa | 0.3 MPa |
| Suitability for use of the diluted mixture | 4 hours | 2 hours |
| Strength | 8 MPa | 5 MPa |
It can be seen that the “Seresit ST21” mixture has higher performance. As a result, it is more convenient to use and “stronger” in operation. The indicators of “BudMaster Moore - 160” meet the requirements. You need to work with it faster or make small batches to avoid hardening. Follow the instructions and durability will remain at the highest level.
Foam concrete is made from sand, cement, water and foaming agent. Represents blocks of bubbles.

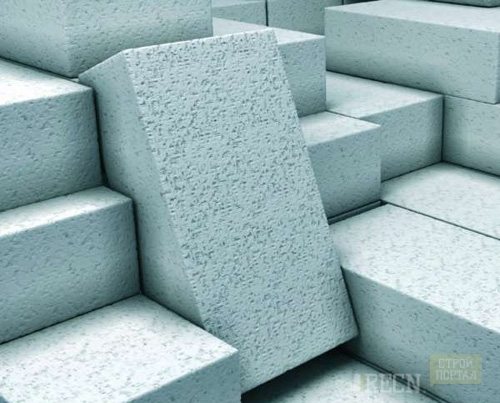
Aerated concrete is porous blocks made from a small amount of cement, quartz sand, a gas-forming agent and additional components (ash, slag).
Foam and aerated concrete blocks are placed on the prepared cushion along the guides. An adhesive mixture is used as a connector. The first row is placed on waterproofing. First we “install” the corner blocks and only then the walls. This will maintain the correct, even angle. The waterproofing layer is laid only on external walls. The internal ones are not insulated.
Some foam blocks have grooves that provide additional adhesion between the blocks. You need to coat with glue on the sides and top. In this case, the likelihood of blowing at the joints will be reduced to zero. The glue layer is approximately 0.5 cm. You should not make the glue layer thick, this way you will save material and reduce the likelihood of blowing at the seams. Purchase the adhesive mixture at the store. All you have to do is dilute it with water and knead it with a construction mixer.
When laying, we check each block with a level. We clean off all small particles and smooth them out with a grater. In construction stores there are blocks of non-standard length (longer than usual). With each row, align the walls along the guides. We monitor the displacement. It should not be less than 10 cm. A discrepancy can lead to cracks and wall collapse.
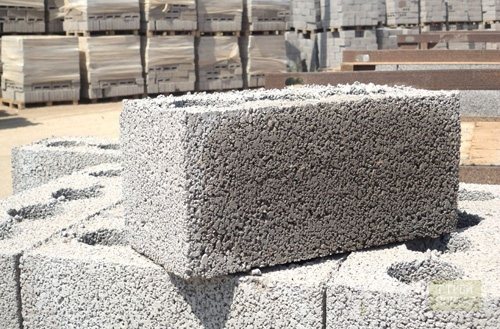
There is another type of blocks - expanded clay. Manufactured by vibration pressing. Expanded clay granules are “soldered” together, which further strengthens the material. Expanded clay blocks can be used for the construction of any walls (external and internal). Low weight, compared to concrete blocks, ensures ease of installation. Lay them without the help of a tap, with your own hands. Despite their simplicity and lightness, expanded clay blocks are strong and durable in use. They are easy to process with readily available tools, such as a saw or jigsaw. A special adhesive solution is used to hold the blocks together.
Expert advice
How to lay blocks on a foundation to achieve better quality? To facilitate this process, you should follow the advice of experienced specialists:
- waterproofing is laid on the finished foundation, which will prevent the spread of moisture from the soil to the walls;
- for more reliable fixation, it is recommended to buy materials with special grooves;
- It is best to install the guide cord along the outer edge of the gas block, which will facilitate its installation;
- Before installing aerated concrete, it is recommended to go over its surface with a grater to remove small irregularities;
- if during the installation process there remains a gap of 10 cm, it is recommended to reduce the size of several blocks rather than install a small piece;
- It is advisable to lay the reduced pieces on different sides, and not in a row;
- uneven foundations can be easily leveled out with the thickness of cement-sand mortar;
- to increase the strength of the enclosing structures, it is recommended to lay reinforcement with a diameter of 6-8 mm between the third and fourth rows;
- additional reinforcement of the walls should be done every 3-4 rows along their entire height;
- When installing each row, one should not forget about bandaging, which significantly increases the durability of the enclosing structure.
If you adhere to this technology, there will be no question of how to lay the blocks to form reliable and durable enclosing structures.
Moreover, all of the above operations can be performed even by a novice builder.