When it comes time to repair the basement of a country house, many of us begin to really panic. But one should not exaggerate, because such repairs, and even subsequent finishing, can always be done independently.
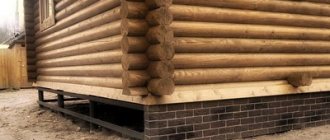
Basement repair is very necessary, because this is precisely the element of the house structure that protects the foundation from moisture and destruction. If there is no base, or it is in a destroyed state, the foundation and lower part of the masonry will begin to collapse, which will affect not only the humidity inside the house, but also the quality of the walls, floors, and so on. In this case, cracks and serious chips, rotting of logs, and gradual destruction of walls are possible.
Therefore, repairing the basement of a private house is very important , and it is advisable to carry it out exactly at the moment when its first defects were noticed. But if the base has been in unusable condition for several years, this is also not a problem, because we can restore it in a few days.
When to repair the basement at the dacha
It is best to choose a warm and dry time of year for such work, preferably without severe heat. This may be the middle of summer, depending on the region, but we suggest that you repair the basement already in the beginning of spring, as soon as it dries out after the snow in the fresh wind and the rising sunlight. For example, you can start the process in the middle or end of May, so that it is not too hot for you to work, and the temperature for finishing is acceptable.
It is simply impossible to carry out repairs in cold or rain, as well as in severe heat, because a stable temperature is necessary for high-quality adhesion of the solution to the base materials and its uniform drying.
Repair materials
To repair the basement of a house with your own hands, you need to prepare certain materials for future work. First of all, this includes the following:
- gravel, sand and crushed stone;
- primer and concrete mixture;
- plaster mixture;
- dowels and fittings;
- geotextiles or roofing felt;
- boards for formwork construction;
- exhaust mesh;
- waterproofing solution;
- asbestos or steel pipe.
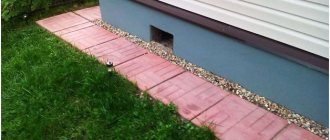
Pouring the blind area
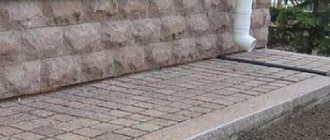
The blind area can rise above ground level by 4-7 cm, but should go approximately 20-25 cm deep. Determine the width yourself, dig a place to fill the blind area and clean the foundation of the house. It is important to remember here that the blind area should have a slope of several degrees from the house so that the water does not stagnate under the house itself.
When the place is ready, you should tie it to the foundation as much as possible, nail reinforcement to it, and weld the mesh to it. You shouldn’t be particularly zealous, but the base of the blind area must be done with high quality.
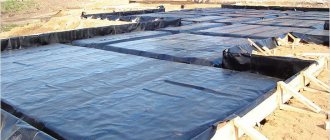
When the reinforcement for pouring is ready, it is necessary to fill in the gravel bed, install the formwork at the height of the blind area, and fill everything on top with cement mortar. But before this stage, you can also perform waterproofing, which will be very appropriate. This can be standard waterproofing of the basement of the house, or classic, clay, when a layer of clay 15 cm wide is laid along the entire height of the blind area around the house and is well compacted.
If you want to get a stronger blind area, lay several layers of fine mesh, and also make it based on a solution with crushed stone.
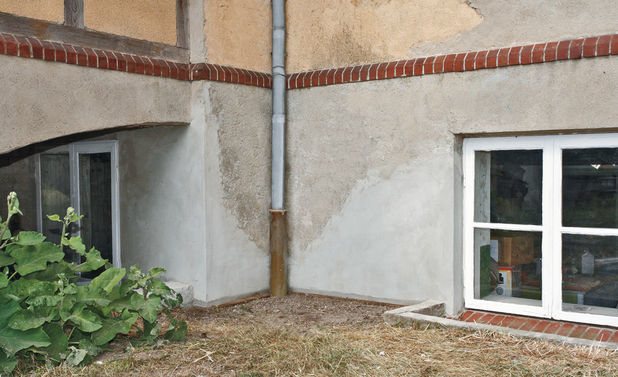
Determining the causes of deformation
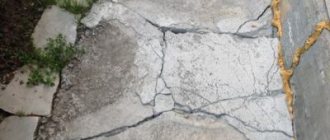
Based on the fact that in your case, during the construction of a private house, the foundation was insulated and no flooding of the basement and basement was noticed, we can conclude that the damage to the building’s basement was caused by moisture penetration through the soft blind area.
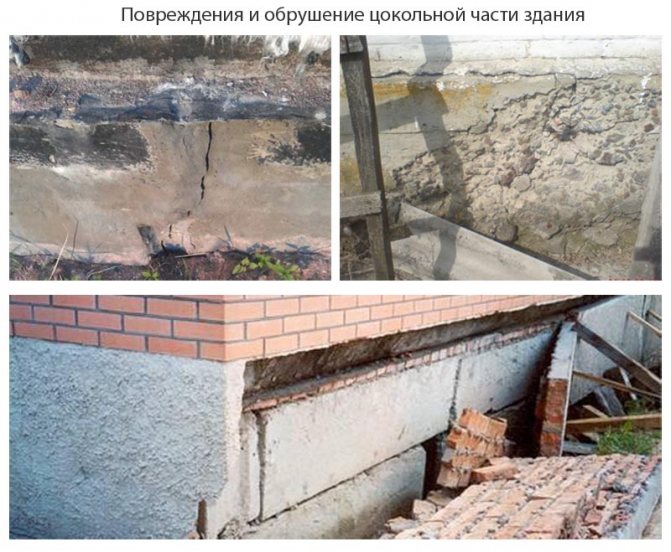
Damage can vary in nature - from simple cracks to complete collapse of the structure.
This type of adjacent structure does not meet all requirements and provides a rather low level of protection. In most cases, the soft type is constructed as a decorative element with limited protective functions.
Most likely, you thought that the waterproofing of the base was sufficient to protect the foundation from moisture. But in practice it turned out somewhat differently - the blind area, which should prevent and remove moisture from the load-bearing base part, did not cope with the assigned task.
Perhaps the problem is more pronounced, but without examining the structure and additional information, it is difficult to draw a conclusion based only on the facts received from you. Therefore, it is recommended to conduct an independent audit and exclude possible causes.
Shrinkage of the building can be completely excluded, since the construction of the house was completed more than 3-5 years ago. The type of foundation soil was taken into account when designing the building, which eliminates the cause of the load-bearing foundation being too low.

Strengthening an existing structure is the most effective way of repair and restoration
You can check the groundwater level yourself. The easiest way is to check the depth of water in existing wells on the site or adjacent territory. With sufficient depth (more than 15 meters), it is possible to completely eliminate the fact that moisture constantly penetrates through the soil.
For an additional check, you will need to dig a small trench to the depth of the foundation and monitor the accumulation of water. If after 3-5 days no accumulation of water occurs, then groundwater does not wash away the foundation and the cause of destruction is different.
The accumulation of even a small amount of water may indicate that the supporting base is periodically or constantly exposed to moisture, which, rising through the soil, is absorbed into the surface of the base, thereby reducing its service life, leading to damage.
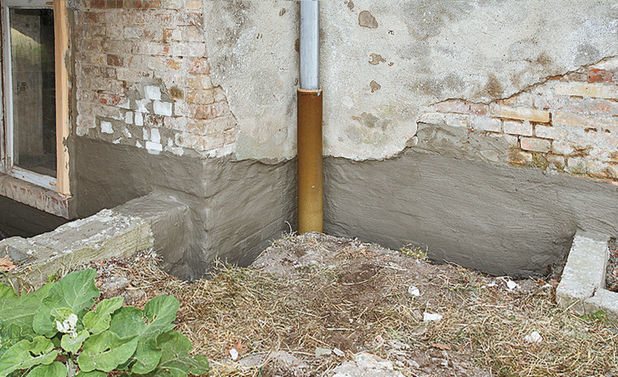
In your case, without identifying any additional reasons, the lack of a reliable water barrier in the form of a high-quality blind area led to the fact that the base was exposed to moisture for 5 years. Hence the formation of cracks and collapse of the outer covering.
Repairing the basement of a country house
The base is upholstered and cleaned, the blind area is filled and fits tightly to it - all that remains is to move on to our main task.
A fine reinforcing metal mesh should be placed around the entire perimeter of the base. It is advisable to give it a shape, since the mesh will be held in place by a layer of solution. That is, the mesh can be filled more evenly vertically by adjusting its position with dowels.
The next stage is primer. You can pass the primer directly through the mesh so that the composition gets onto it and onto the surface itself. If a primer is not required, simply moisten the surfaces well before applying the solution.
After this, apply a layer of thinner solution onto the mesh well so that the plastering mixture penetrates through the mesh and fills all the cavities along the base. To do this, you should not accelerate; on the contrary, you must act very carefully, even pressing the solution inside the mesh, clogging all the cavities and recesses with it. Thus, finishing occurs along the entire perimeter, with a layer through which the mesh itself will only be visible.
It is advisable to let the layer dry a little, and then you can begin the final plastering. Here you can put another layer of cement mortar, or work with decorative plaster, original stone and brick masonry.
Depending on your choice, there may be very different options for further processes.
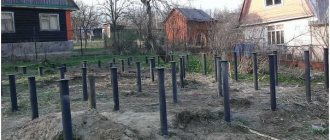
Strengthening the foundation
Strengthening is carried out partially, first of all in the corners of the building, then in the central parts of the walls. A trench is dug under the base of the foundation and compacted with gravel and sand, creating a base for the new foundation. Old walls must be cleaned of dirt and damaged areas and treated with a primer. Then, using a puncher, holes are made in 4 rows at a distance of 70-120 cm from each other. Anchor bolts or pieces of reinforcement 40 cm long and 12-14 mm in diameter are inserted into them. A frame with cell dimensions of 20x20x20 cm is tied onto the rods with wire or welded; it should be located at a distance of 10 cm from the old structure. After this, the formwork is installed and the structure is filled with concrete.
Permanent address of the article
Inexpensive plinth finishing
The base is ready, and now it is necessary to protect it from the harmful effects of atmospheric phenomena. This can be done with bitumen or other special mixtures, but you can always use the old-fashioned method.
You need to heat resin and diesel fuel over a fire in an old bucket. Heat slowly, over low heat, being sure to protect yourself from possible injury. By stirring slowly, you can prepare a high-quality coating solution that was previously used everywhere. It is necessary to use hot resin with the consistency of jelly using a large round brush, evenly applying the mixture to the base in a thick layer.
DIY cladding
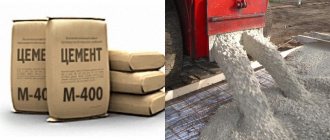
If you want to plaster the foundation yourself from start to finish, you will need to make a solution. To prepare it you need cement and sand, various water-repellent and plasticizing components.
To make a high-quality mixture, you need to follow the instructions:
- sift sand from quarries through a metal sieve;
- place the cleaned sand in a mixing container;
For cement brand M400, take three parts of sand, for M500 - four.
- in a separate container, mix water with water-repellent and plasticizing components, for example, polymer dispersion and PVA glue.
If you paint the plaster before applying it, the pigments should be added to the water now.
- Gradually mix all the resulting liquid into the mixture of cement and sand.
Modern plinth finish
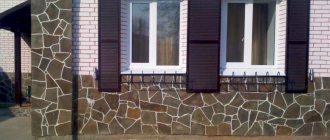
If you have the opportunity to spend more money, create a more interesting look and provide effective protection from the effects of humidity, wind, frost and sunlight, use a modern finish. Often, this is simply decorative plaster with protective properties or further painting, but often craftsmen make a stone plinth or a plinth from artificial stone, which is in no way inferior to a natural finish.
To lay the finishing material, you will need to choose the right adhesive mixture and study the instructions for using the materials, because many of them will require a primer, mesh, and maybe the preparation of a special layer.
At every stage of repair and finishing of the basement of a country house, it is worth remembering that this is often a very important structure, on which the durability of the building largely depends.
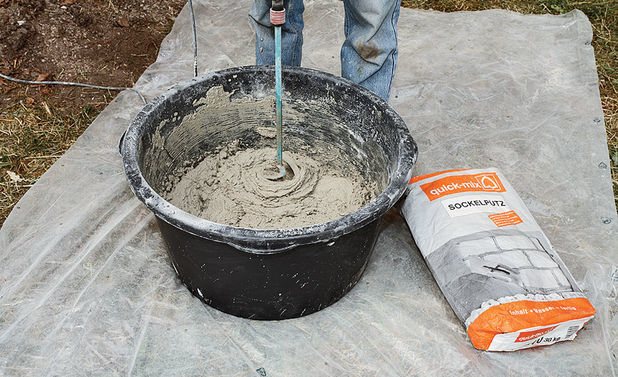
Ready mixes
On the building materials market you can find special plasters for plinths. In them, the cement/sand ratio is selected in such a way that the plaster layer is stronger, and they also contain strengthening chemical additives. Nowadays the following brands are considered popular:
- Sockelputz Knauf;
- Ilmax (Ilmax) 6820;
- Volma Sokol;
- Eunice Silin basement.
Attention! To waste your budget in vain, always ask the construction team for receipts for the purchase of materials.
Some manufacturers add marble or quartz chips to increase durability and improve appearance. But a more popular option for the finishing layer is the application of polymer mixtures. You can also add pigments to the solution to give the plaster the desired uniform color, or use embossed rollers for decoration and subsequent painting.
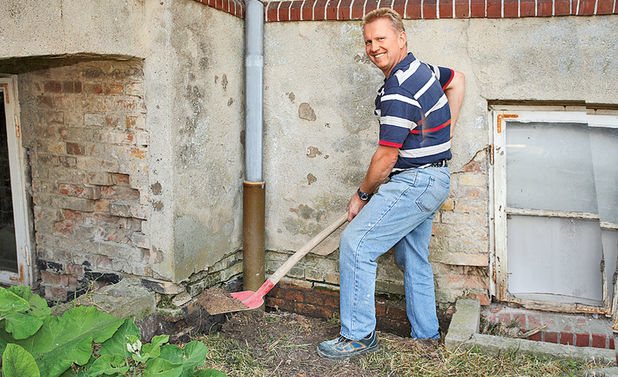
Step-by-step instruction
First, free the lower part of the wall from contact with the ground. A shovel is used for this.
Then remove all fragments of plaster that do not adhere well; you must try not to miss any voids; they can be identified by tapping. All loose plaster is beaten off with a hammer or chisel.
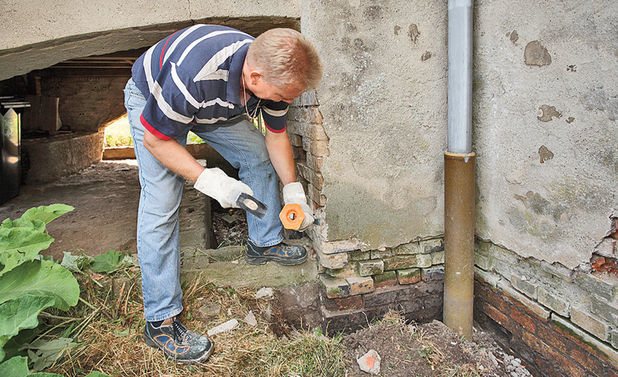
Then the surface is cleaned of dirt and dust. Use a wire brush to thoroughly remove all remaining plaster. You can see how to do this work in the photo or video.
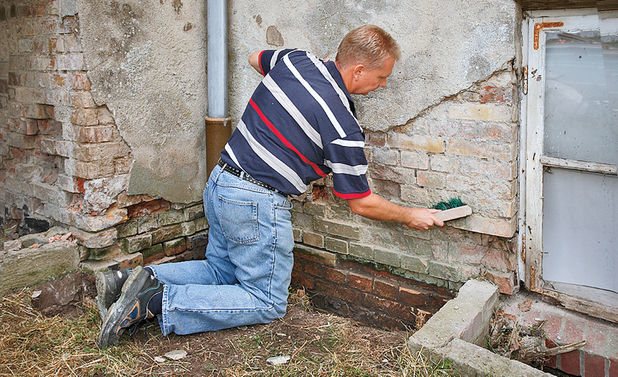
All surfaces that need to be protected from plaster, such as window frames, must be covered with masking tape. It will protect important areas from contamination.
Detected defects in the masonry are moistened before repairing the brick plinth lining. This is necessary to ensure better contact of the plaster mixture with the surface.
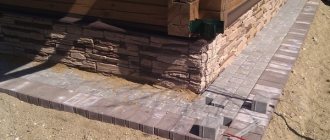
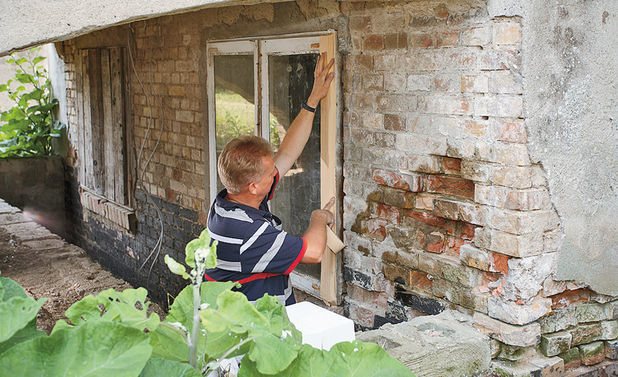
To fill the existing voids, you should select bricks of the appropriate size. You can cut fragments of the desired size from aerated concrete blocks.
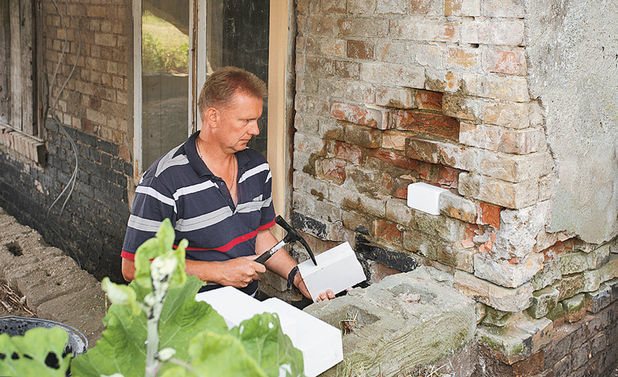
The next stage of repairing the basement with your own hands is to fill the voids with prepared bricks and secure them with masonry mortar.
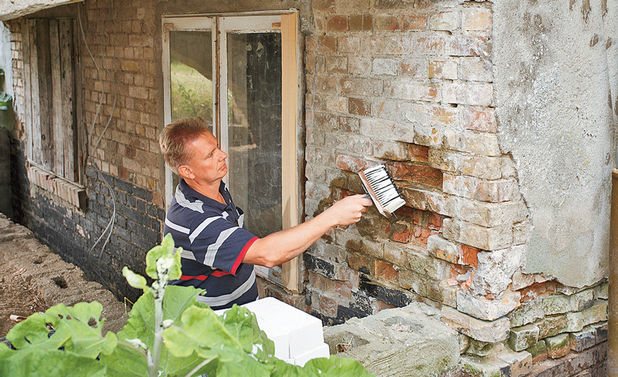
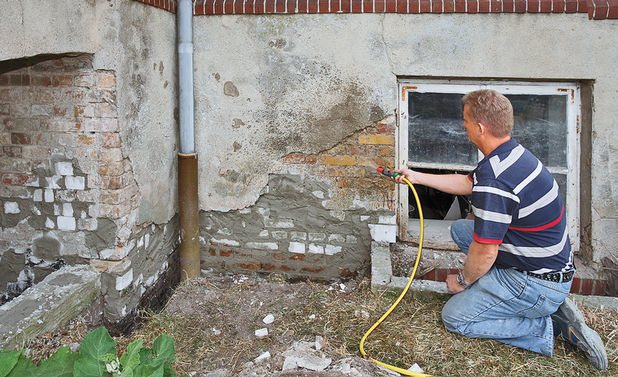
Before plastering the surface, it must be thoroughly moistened. To do this, you can take a bucket and a brush, but it’s easier and faster to wet the wall with water from a hose.
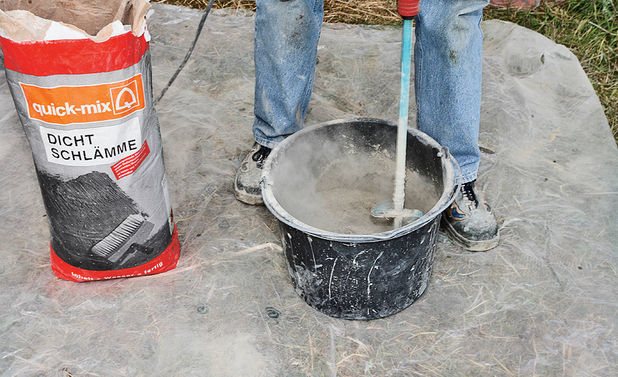
Then a solution (waterproofing slurry) is prepared for waterproofing. The mixture is diluted with clean water.
The solution is applied to the restored areas in 2 passes. First, a thin layer of 1 - 2 mm, when the first layer begins to set, apply a second layer of 3 mm. In this case, you can use a brush or a wide spatula.
The applied layers must stand for 24 hours. You can continue working the next day.
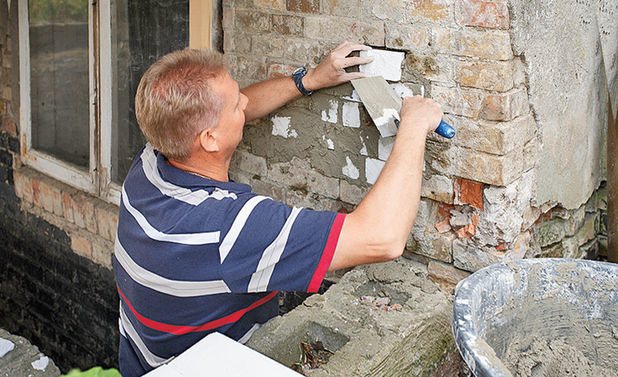
Then a solution for plaster is prepared.
Perform a 2-layer application again. First, apply a layer of 10 mm. The plaster is rubbed forcefully over the surface, moving the spatula in a semicircle.

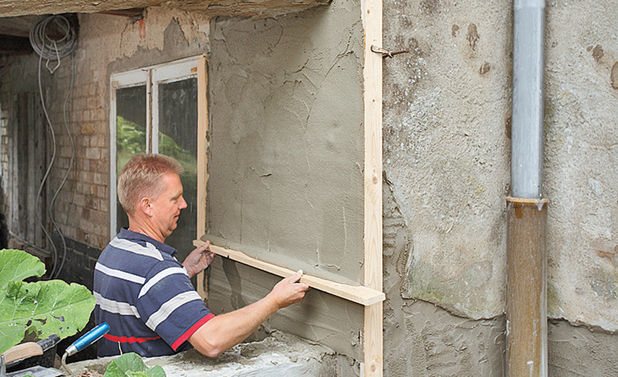
To ensure that the walls are ultimately smooth, it is advisable to use plaster strips, when installing which you should use a level. These planks come in several varieties. In this case they are made of wood.
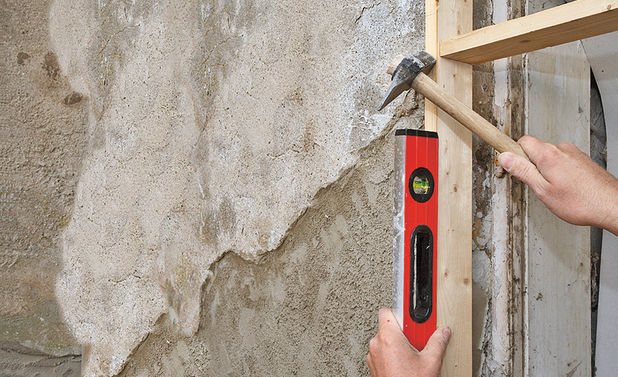
The next layer of plaster is applied with a thickness of 15 - 20 mm.
Next, remove the excess layer of plaster using an even strip and leave the surface to dry for 48 – 72 hours.
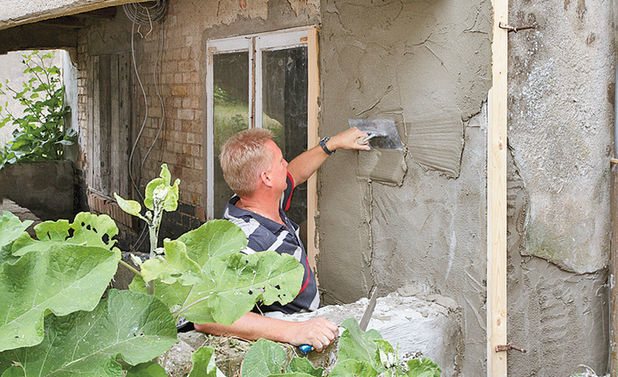
The plaster is carefully applied over the entire surface; it is advisable to fill the entire surface with it down to the foundation. Then it will be possible to talk about a complete and high-quality repair of the plinth plaster.
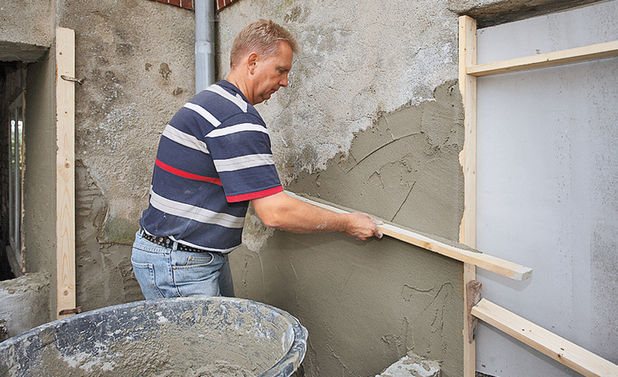
The base point for removing excess mortar will be not only the plaster strips, but also the intact layer of cladding, as in the photo.
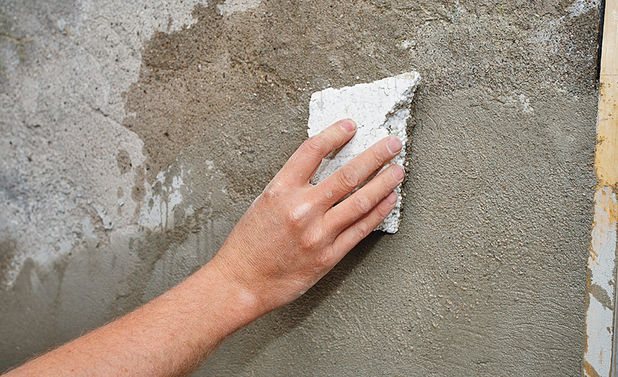
When the surface dries, it is leveled using a plaster float.

To beautifully decorate the corner, plaster strips are used. By attaching the strip to the appropriate corner, you can align the end of the wall. The bar is then removed.
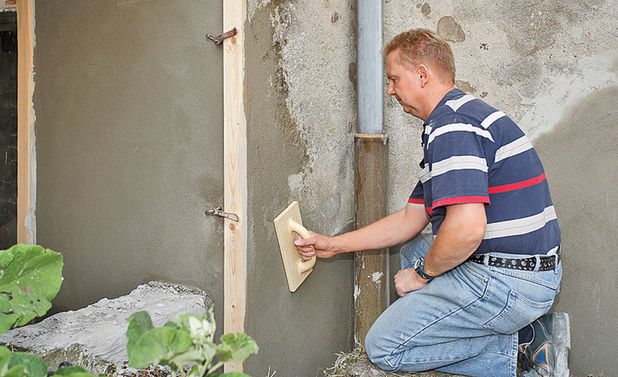
Next, you can use a special corner spatula. It will give the corner the final correct shape.
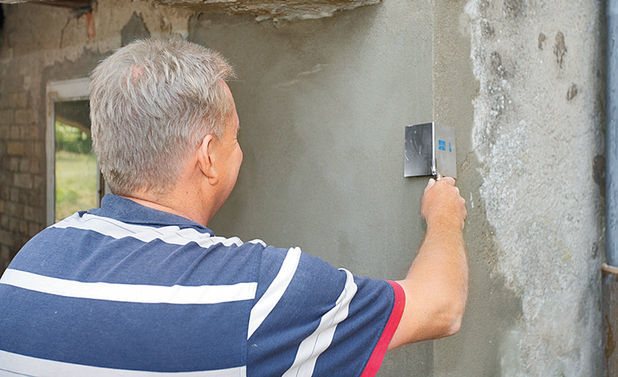
Practical advice! To make a homogeneous transition in structure from the old plaster to the new, you can treat the joints with polystyrene foam.
The last stage of repairing the basement of a private house is to treat the surfaces in contact with the ground. To do this, you can use waterproofing slurry or bitumen mastic.

Repairing the base yourself is not difficult. As a result, you can breathe new life into an old building.